Monday, 8 July 2013

Shellback dinghy 'Little Pet'

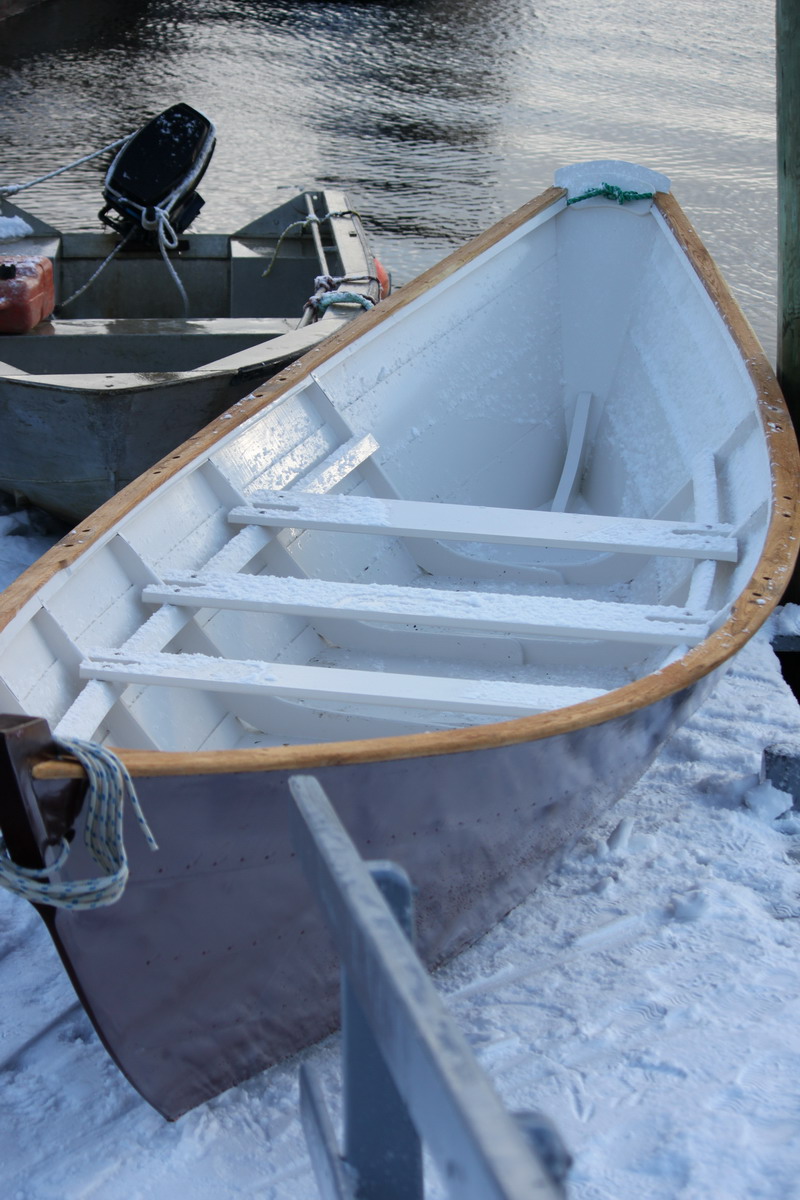
We were pleased to launch the Joel White Designed Shellback Dinghy for her new owners last month. Despite rainy weather, 'Little Pet' as she is now known performed admirably. The new owners say that for now she is their only yacht but they hope one day 'Little Pet' will be a tender for a larger yacht! Built of marine plywood with a layer of epoxy and fibreglass cloth on the bottom and garboard for protection when beached, she has sloatation under the stern and forward thwarts, two rowing positions and is trimmed in teak. Check out the video of her first sail here! http://www.youtube.com/watch?v=KLZrEtFy_4c


Thursday, 11 April 2013

Building an Edwin Monk Skiff

Keith saws the end off a Nova Scotia white pine plank
Going through our bookcase at we found a book from my dad's library from 1946. The book is Small Boat Building by Edwin Monk, Naval Architect. As we had a few long pine planks left from Dory building we were looking for a skiff that we could build. The book has sixteen modern small boat designs, rowboats, sailboats, outboards, a 125.Class Hydroplane and a runabout...all modern in 1946! Mr Monk has a great writing style and explains at the very beginning that in his book 'No attempt has been made to cover such subjects as rules of the road, seamanship etc., and many other things sometimes included in a book of this sort. Some of these are useful, but can be found in other sources. The rules of the road for instance are contained in the Pilot Rules, two copies of which every motor-boat owner is required by law to have aboard and are supplied free by the government.' 
The start of the Edwin Monk designed Skiff

We decided on a 14'6" skiff. Mr Monk explains that 'The lowly skiff might well be called the universal boat' he goes on the explain that the skiff is much superior than.... 'the punt, a much inferior craft, almost useless in rough water'. This skiff according to Monk 'should make an ideal outboard boat'

Wednesday, 13 March 2013

Big Pond Boat Shop appointed supplier of Dudley Dix Yacht Design's plywood kits

Big Pond Boat Shop has been appointed as a supplier of Dudley Dix Yacht Design Inc. plywood boat kits. The kits will be cut in Nova Scotia and shipped to to wherever needed. The shop will be available to supply kits for any of the range of plywood kits

The first kit on offer will be for the Paper Jet. This is a versatile training boat for juniors than can be progressively upgraded from a very simple and basic Lite version with free-standing una rig that is forgiving of errors, through a sloop version to a powerful high-performance Turbo version that can be very exciting and challenging to sail.

This is all done by exchanging rig components rather than replacing the boat, so is an economical route for upgrading. It has the added advantage that when there is too much wind for the big rig, it is quick and easy to depower down to a smaller rig to suit the conditions. That extends the use of the boat into a very wide range of conditions so that it spends more time on the water instead of lying on the shore waiting for the right breeze.

Rigs and layout of Paper Jet
All of the rigs shown above use the same mast up to the hounds and the same boom. Above the hounds two different topmast lengths allow changes in overall mast height to suit the mainsail that will be used, the topmasts sliding into a socket at the top of the lower mast. The una rig has the mast free-standing in the forward mast partners and the others have it stayed in the aft partners. I also intend to add a junior mainsail option, which will have a very short topmast and be more suited to smaller juniors.

For more info and photos go to http://dixdesign.com/paperjet.htm.
To see the full range of designs, go to http://dixdesign.com/ .

Saturday, 9 February 2013

Finished & Launched Dorys

Completed Dory Buff Dory
Once the Dory is planked, and the cap rail is on, the seat riser is attached to the frames and the thwarts are placed. There are three thwarts however there is place for five. The thole pin hole are drilled, painting is completed and the dory is ready to row. These Dorys row best with 9'3"-9'6" oars. The traditional Dory colour is Dory Buff however they can be painted with other colours, We painted one Dory buff and the other a dark red with a cream interior.
Completed dark red Dory
Rowing the Dory is great fun and good excercise with two rowers and there are Dory Rowing Clubs in several communities around Nova Scotia. The Canadian Dory Racing Association in Lunenburg hold International Championship races against the Gloucester Mass., USA rowers for women's teams, men's teams mixed teams and juniors.

There are Dory Rowing Clubs in Shelburne and in Mahone Harbour.


Winter row

Members of the Mahone Harbour  Dory Rowing Club


Wednesday, 23 January 2013

Planking the Dorys

The first plank installed on each side
The garboard plank determines the sheer of the Dory. On our Dorys we were able to have three subsequent planks of the same width to reach the topside height. Each plank is beveled with a plane to fit on the plank below. They are bent around the frames and are attached to each other with copper nails and roves with screws into the frames, the stem and the transom.
Once the second plank was on we were able to start removing the supports on the frames and to begin cleaning up the inside of the boat

The second plank installed on each side

As the third and final plank was installed we started to think about the oak for the gunwhale which supports the cap rail and gives the sheer its strength. Traditional Dorys have a steel strap that attaches each frame to the gunwhale. The oak gunwhale is screwed to the top plank.
gunwhale in place and steel straps on frames

Once the gunwhale was on it was time to fill the screw holes and start preparing the boat for painting. An oil based primer sealer was applied.


Tuesday, 22 January 2013

The beginning of two traditionally built Dorys


Grown Knees
 In the summer of 2012 we built two traditional Dorys. Dorys are measured by the length on their bottom and the ones we built are 15'. This means that they are approximately 20' in length. These were based on Gloucester Dorys with respect to the Lunenburg Dorys. We had some very basic plans of the 15' Lunenburg Dory and much more detail from John Gardner's Dory Book, of other Gloucester Dorys.
Getting wood from Heisler's Boatyard
We also had patterns from the The Fisheries Museum of the Atlantic for the frames, the stem and the transom and the benefit of their finished Dorys for measurement. Materials used are grown knees, Nova Scotia white pine, Nova Scotia red oak, copper nails and roves and of course some paint. The grown knees were obtained in the springtime from the Hatt's in Gold River and we took the museum patterns with us to make sure they fit. The pine which had to be long enough and wide enough to plank the boat (pieces were over 20' long and 10" wide), came from Michael Kelley. Some of the wood he had cut and sawn himself and other lumber came from his boatyard; Clarence R. Heisler and Son Ltd., on Gifford Island.
Transom and knees are set up on planked bottom
The red oak, also supplied by Mike had to be big enough for the tombstone transom, the stem, the gunwhale and the cap rail.

The Dory is started by planking the bottom and setting the 'rocker' which is the convex curve on the bottom of the Dory, the bow and stern are higher than the center of the boat.

Thursday, 31 May 2012

Shellback Completed


The Shellback is finished. Here are some pictures that we took before its owner picked it up, it is rigged for sailing and rowing.


Saturday, 14 April 2012

Top coat on exterior


Here is the Shellback with its primer followed by two coats of top coat. Nice and shiny. We will be turning it over to finish and paint the inside.

Tuesday, 13 March 2012

Shellback continues

The Shellback dinghy is planked, and the interior flotation tanks are in place. The aft tank is now covered, and the foward tank is having the mast step installed before the seat cover is installed. The daggerboard case is being fitted. 

Here is Keith at the Halifax International Boat Show last month with the Marsh Cat. 


Monday, 30 January 2012

Shellback Construction Begins


Here are the Shellback station molds set up on the strongback. The bottom of the boat is made of 12mm marine plywood. The lapstrake planks will be 6mm. The stem and the midship frame are laminated clear grain spruce. The transom is 18mm marine plywood.


The garboard plank and first plank are installed. Planks are glued onto each other with epoxy thickened with cotton fibres.

This is the first of two Shellbacks that we are building. Both will be rigged for sail and rowing.

Sunday, 22 January 2012

New Shellback starts

"Eric"
We are starting a new Joel White designed Shell back Dinghy. This 11'2" dinghy has 4'5" of beam and weighs approximately 100lbs. The Shellback pictured here was built for our client who wanted it to be in two pieces so that he could stow it on deck on a larger yacht. It clips together under the centre thwart, and the forward and aft sections  float independently.


The sailing rig is a balanced lug sail on an unstayed mast. The sailing version comes with a daggerboard, rudder and tiller. Finish is gloss marine paint inside and out, with varnished mahogany in-whale and varnished mahogany seats.
This is the amidships frame of the new Shelback. The photo is of the laminated strips of wood clamped onto the jig.

Sunday, 20 November 2011

Launched

Here we are just off the launch ramp, with our friendly Zodiac tug towing us out to the middle of the river. The wind is a bit gusty so we have tied in the first reef. On a catboat if you think you should reef then its too late if you don't.


The owner decided that he wanted an outboard, so the one he chose is a 2.5HP four stroke, so we wanted to make sure the motor worked, and it did!
We stayed alongside our tug until we got the sail up.


Now we don't have enough wind for our reefed sail, and we are trying to sort out our trim and our rig!


Now we are moving though we should have swung up the outboard! What a great day!

Ready to launch

We have finished the Marsh Cat!
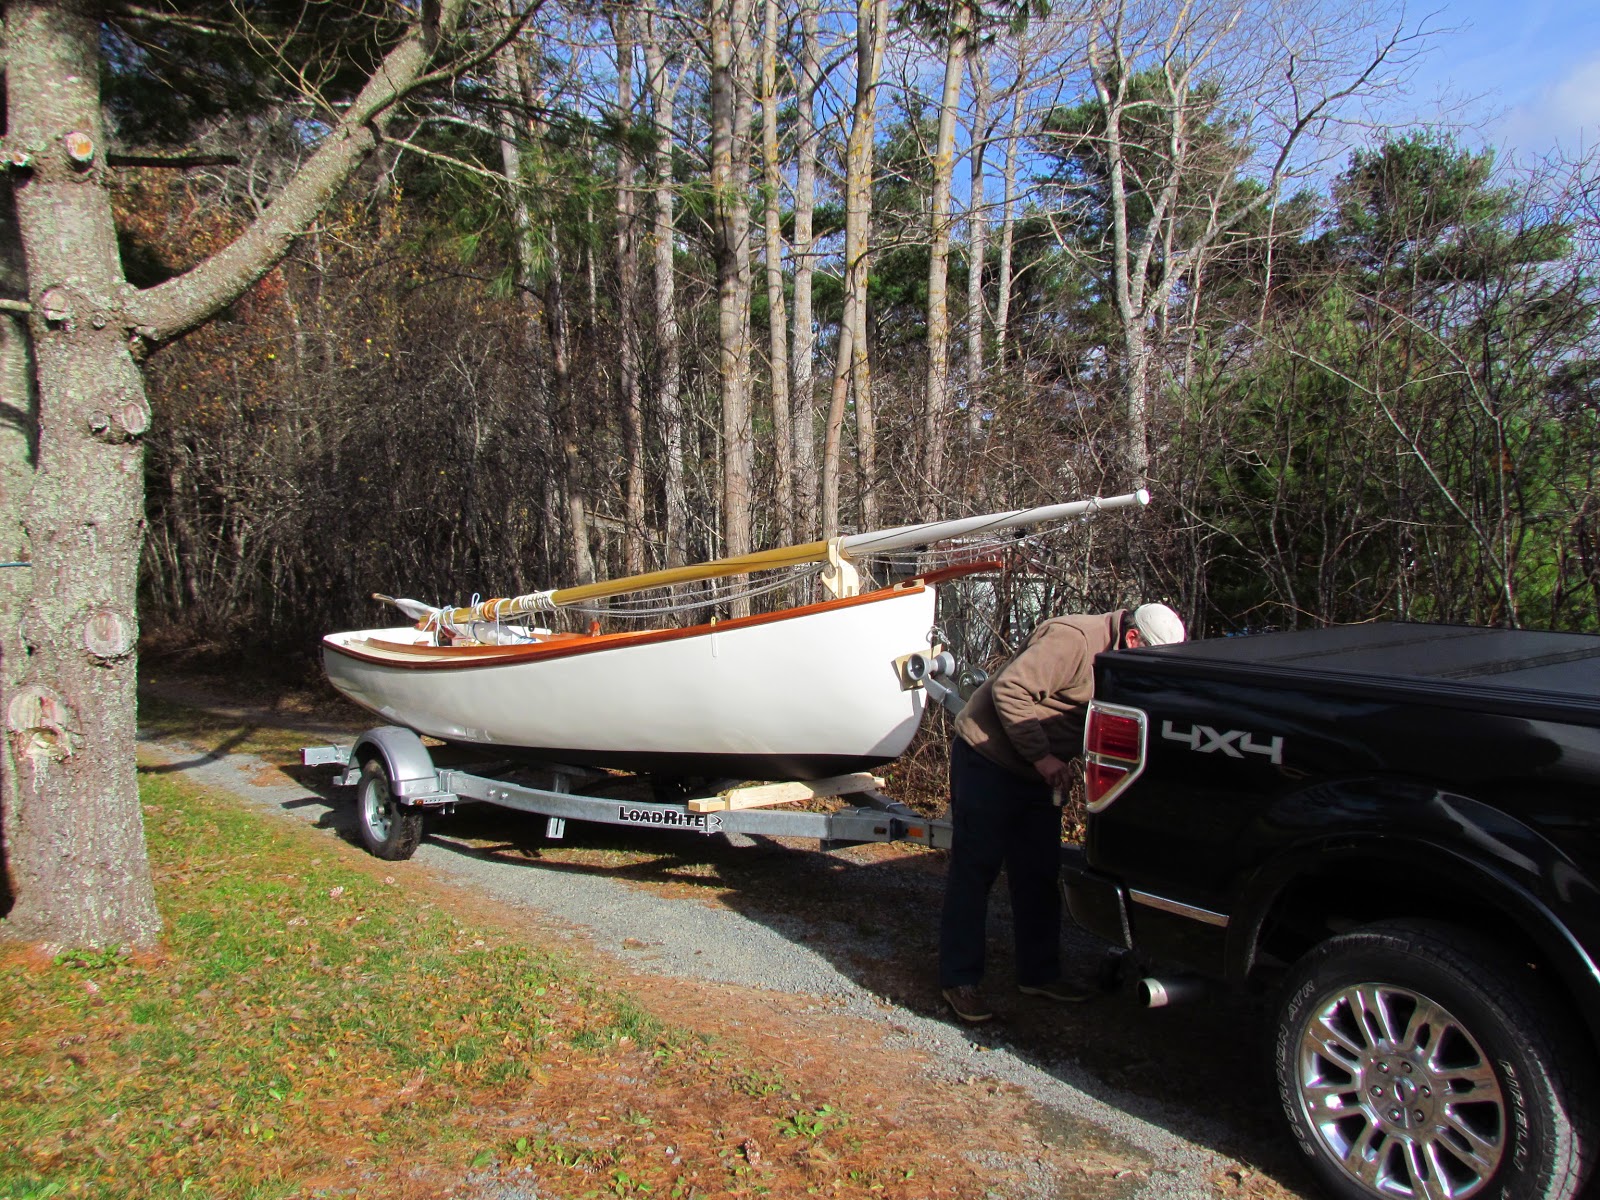
Here she is loaded on the trailer ready to leave the shop, Her paint is complete, varnish is done, We just have to finish the rigging when she gets out of the doors, The sail has been picked up so we want to make sure it fits.


The mast is installed and the rigging fits, We are going to install the sail, then take the boat to be launched. Note that the boom crutch is also a paddle....an idea taken from our friend's Danish Folkboat.
Next we will attach to the truck.....


As you can tell, we are doing this in late fall, but on this day its actually 15 degrees Celsius outside, so we are hopeful that our first sail will be ok.
Sailing pics will be on the next post.

Friday, 11 November 2011

Details Details on the Marsh Cat


 The devil is in the details when we get to this part of the project. The hull has had two coats of AWLGRIP topcoat and the deck has one coat. The varnish is getting built up, and we are starting to install fittings. The rudder and centrboard are being painted and the spars are complete. Floorboards are all installed and the boat is beginning to look good!
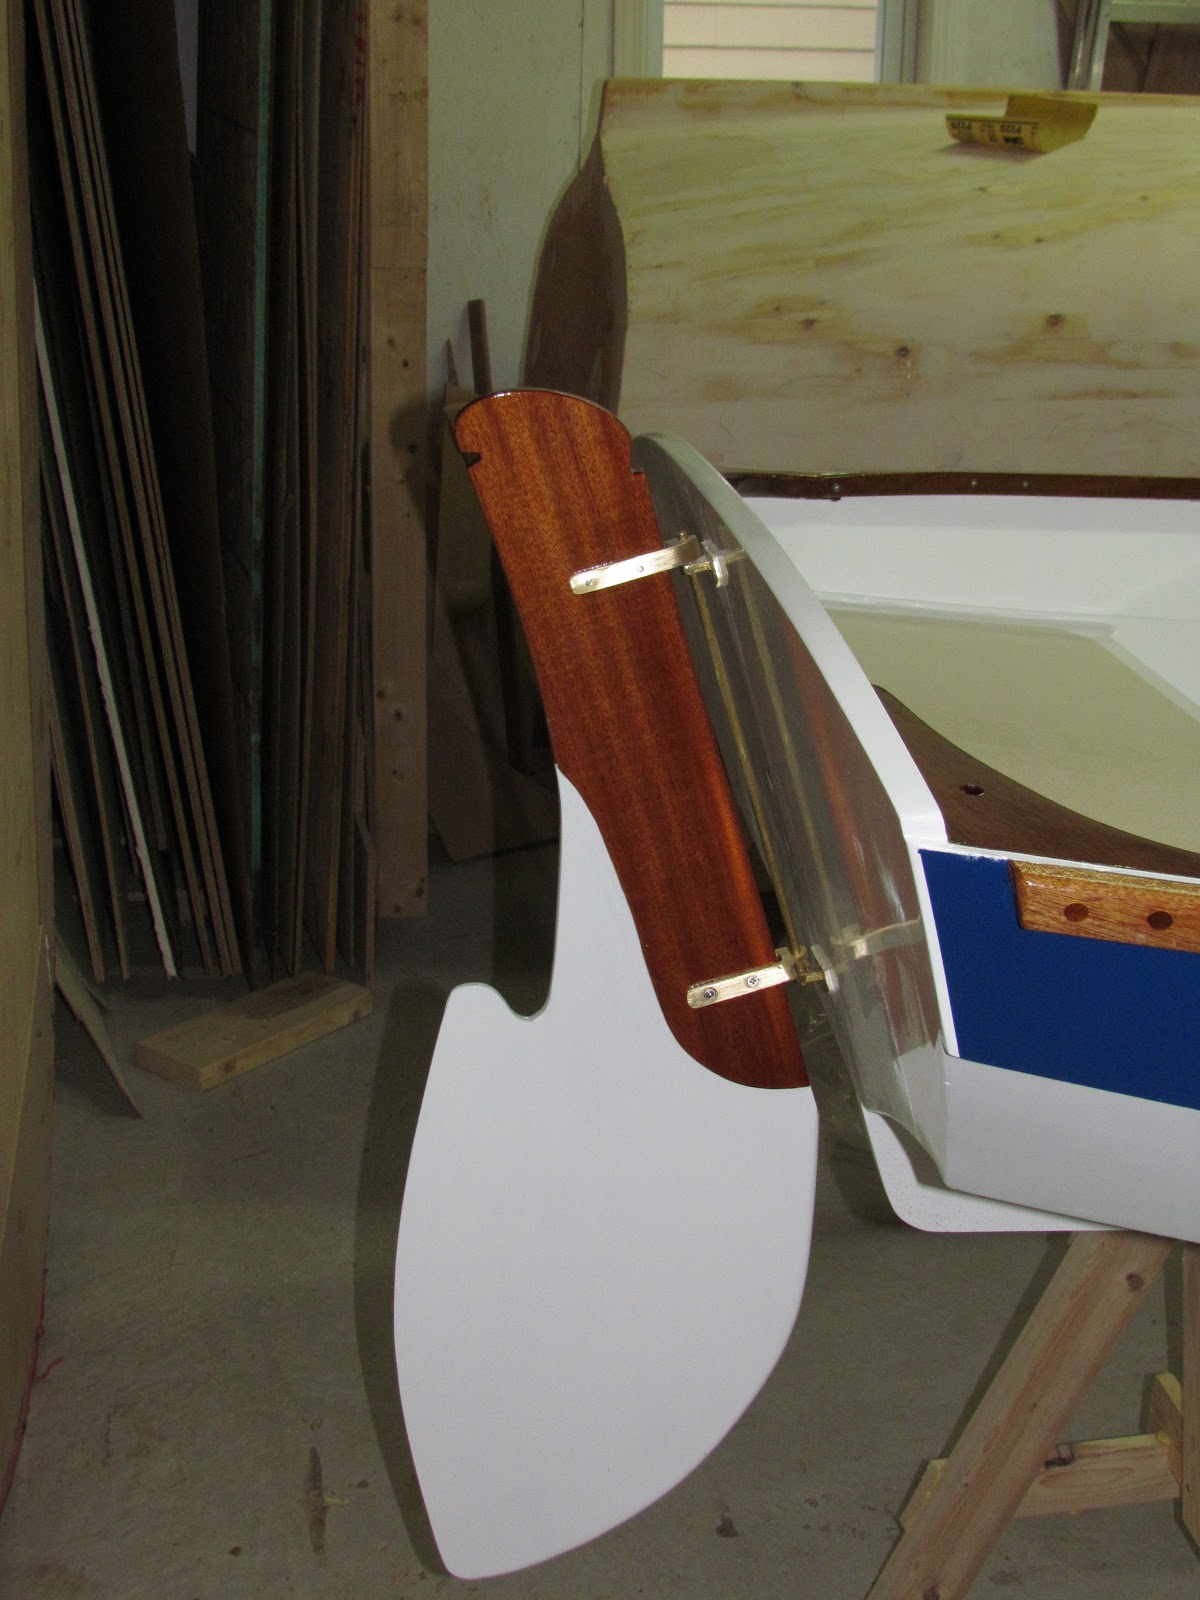
The fittings are cast bronze and include the bow chocks, the rudder pintles and gudgeons, the tiller fittings and the goose neck.
The sail, standing rigging and running rigging will arrive next week. The we will jack up the boat to finsh the antifouling and install the centrboard. We plan to get the boat onto its trailer and outside the shop to rig very soon. Its getting exciting!

Tuesday, 25 October 2011

Marsh Cat primed, coaming and floorboards installed

The hull and deck have been primed and now have two coats of AWLGRIP primer. The mahogany coaming was laminated and formed on a jig with a vacuum bag. The floorboards are mahogany and installation is complete except for the hatches.


Wednesday, 12 October 2011

Marsh Cat deck

 The deck has been installed. The interior has been top coated and the mahogany floorboards are cut out and in the process of being placed. The mahogany bowsprit which carries the forestay is installed.
The centreboard and rudder are built and ready to be painted. The deck is sheathed with 6 oz fibreglass cloth and epoxy resin and will be primed and topcoated with AWLGRIP and Griptex non-skid. Next will be the cockpit coaming and the toe rail.


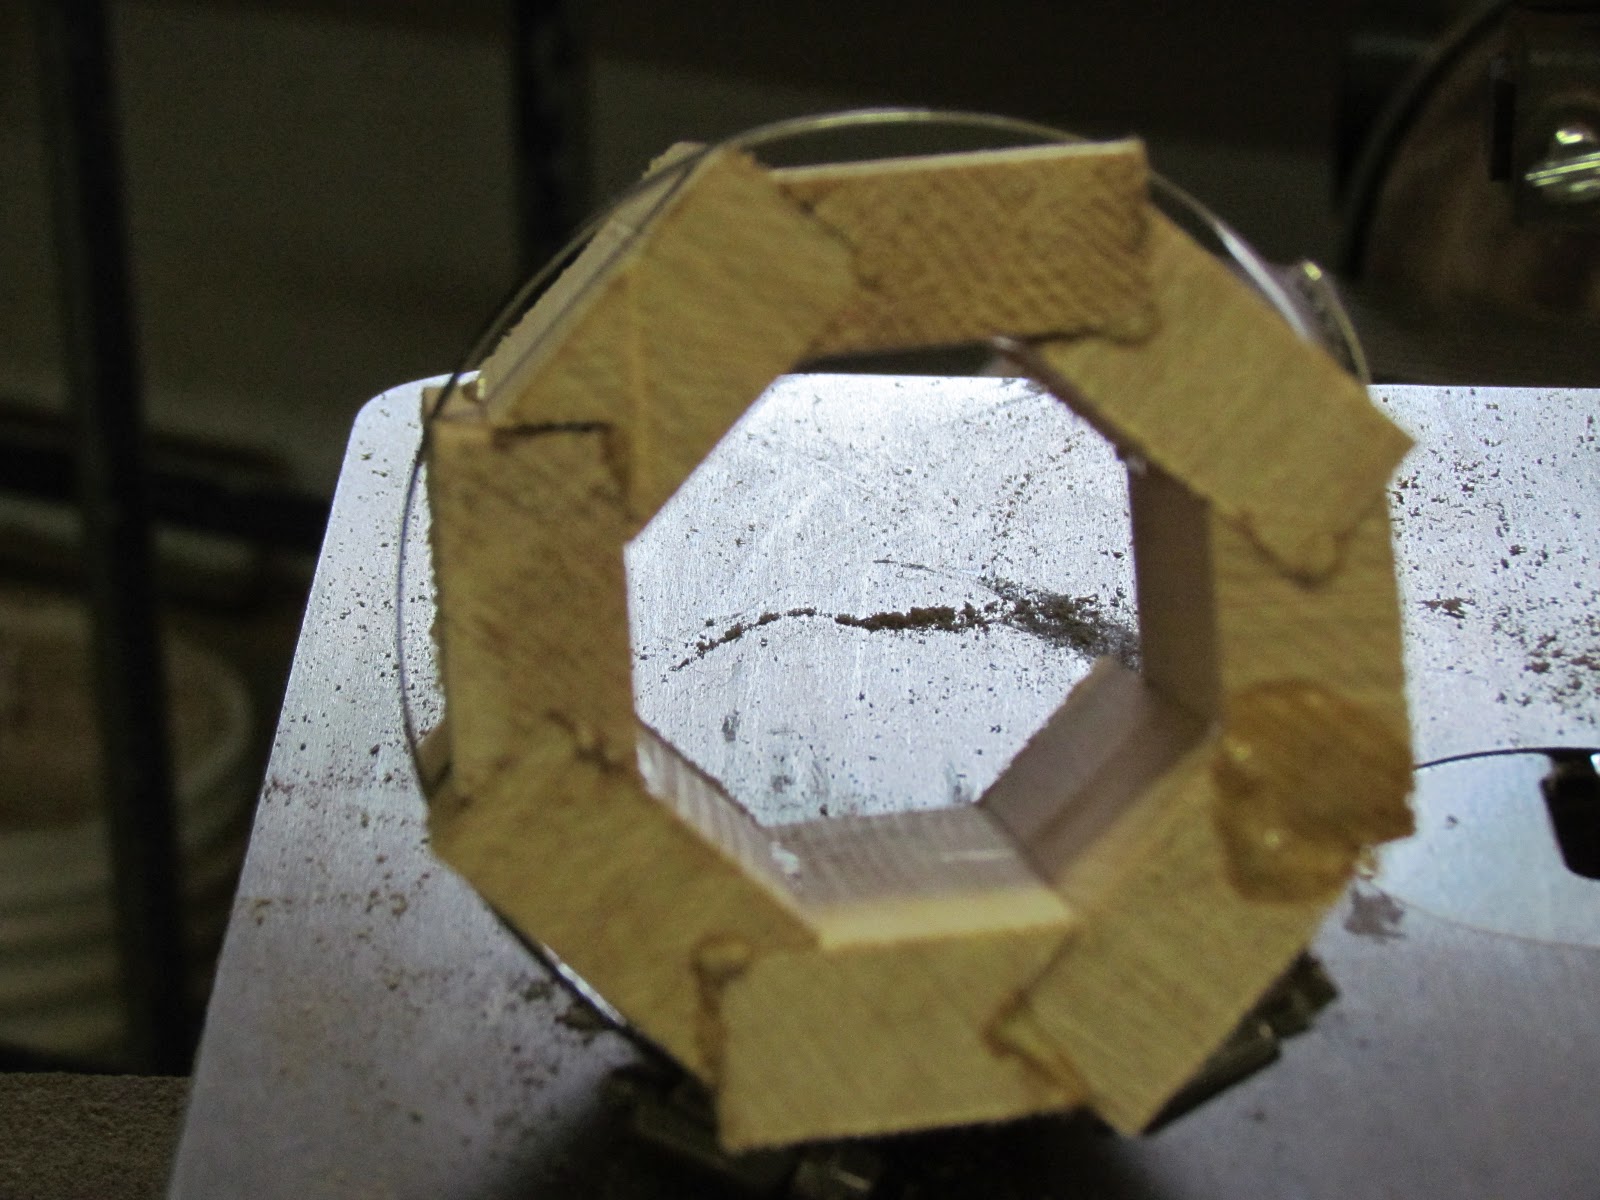
The birds mouth mast has been glued and clamped, and the gaff and boom are in the varnish shop.

Saturday, 1 October 2011

Painting has started on the inside and the hull is being faired, The deck has been cut out and the underside will be epoxy coated before installation

Tuesday, 20 September 2011

Marsh Cat Interior

The interior of the boat now has buoyancy tanks, mast step, centreboard trunk, floors and deck beams. The boat will now be painted inside before the deck is installed. Work is starting on the spars which will be constructed from selected spruce and will be of birds mouth hollow construction

Saturday, 27 August 2011

Hull of Marsh Cat begins to take shape

The sheer clamp has been laminated to the shape of the hull then installed, creating the sheer line. The first deck beam is installed, and the carlin for the coaming is in place, Some of the floors are glued and filleted in place.

Thursday, 18 August 2011

Marsh Cat turned over

 The Marsh Cat was freed from its mold and turned over,
At this point in construction the hull weighs about 340 lbs

Work now starts to clean the hull on the inside and start putting in the floors.